Project Details
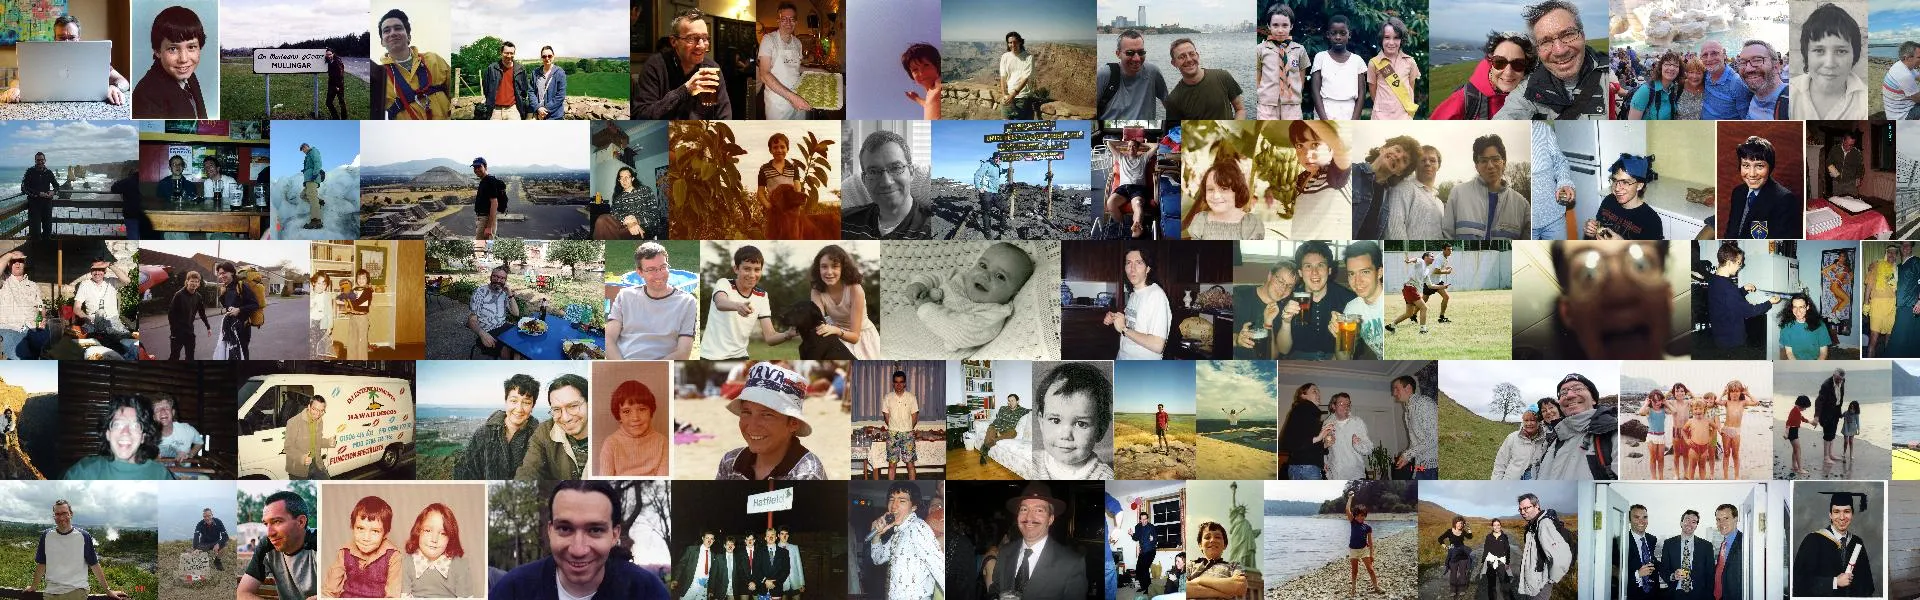
When putting together a web page for an upcoming landmark birthday I decided that I’d like the banner of the page to be a montage of photos of me during my life. Hey, I’m allowed to be self-centred, it is all about me after all! As I wanted to learn Python for my machine learning projects I decided to use that language to create my montage of images.
The problem
I needed a banner image of 1920 x 600 pixels. I had chosen 74 images of me during my life, all of various different sizes and dimensions.
I wanted to create a single banner image that is a montage of the different pictures, fitted together without any gaps. To keep it simple I thought I’d divide the total area into three or four rows and resize all of the images to the same height (600 / number of rows). On seeing what that looked like I’d then decide what to do if there weren’t enough (or there were too many) images and how I’d cover off the uneven gaps that would be left on the right-hand edge.
The environment
As part of a workshop that I have been attending locally I had already installed Anaconda (a distribution of Python) for use with Jupyter Notebooks, so I thought I’d stick with that.
I noticed during the installation that it can be integrated with Visual Studio Code, rather than use that I wanted to stick with Visual Studio Community/Professional, which I have used for many years in web development. Sure enough, the more familiar product supports Python development, it’s simply a matter of adding the “Python development” workload using the Visual Studio Installer.
To my surprise, it turned out that Python was already installed on my Visual Studio installation, maybe I’d done that deliberately or maybe it’s the default setting. Within Visual Studio you can see you Python environments using the following menu option.
View→Other Windows→Python Environments
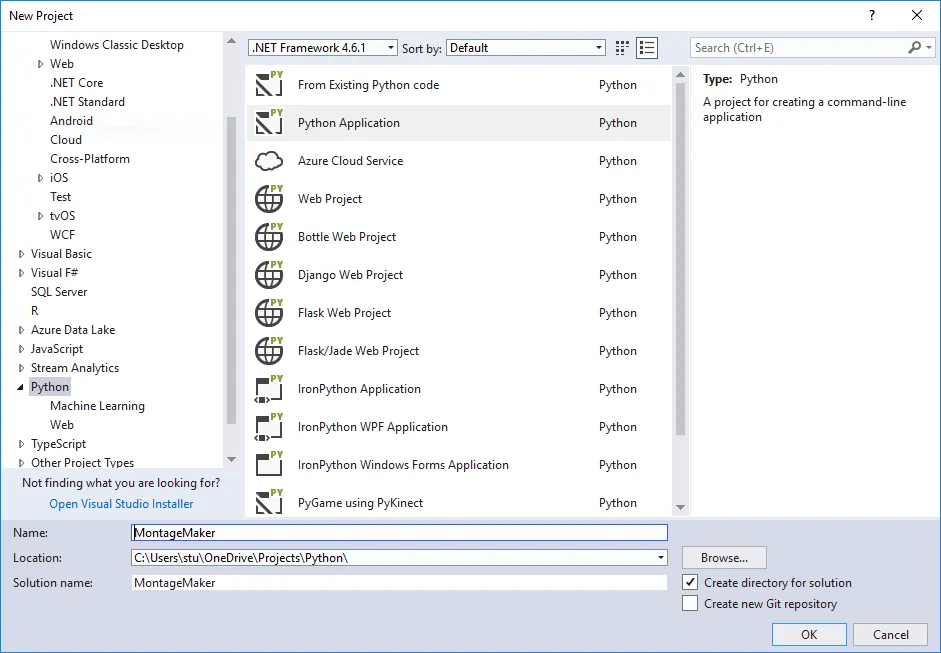
So, I went ahead and created a new simple Python Project.
It seemed obvious that I would need an image manipulation library and, after a quick search online, I found “Pillow”. Within the “Python Environments” window (menu option above) you can select the environment you are using, and then select “Packages” from the drop-down. From there I searched for “Pillow” and, lo-and-behold, it was already installed! I upgraded to the latest version anyway.
More information on Pillow can be found here.
https://pypi.org/project/pillow/
The code
Having got everything set up, it was simple enough to load up an image and take a look. I copied all of my images into a “me” folder under the project. This code shows the image (using your default viewing program) and prints its width to the console.
from PIL import Image
im = Image.open("me\\img954.jpg")
im.show()

w,h = im.size

print(w)
My first task was to loop through the images in the “me” directory. Eventually I wanted to resize these but, first of all, I just took a look at their names and sizes.
from PIL import Image
import os

for filename in os.listdir("me"):
    im = Image.open("me\\" + filename)
    print(filename + ": " + str(im.size))
Next, I wrote a function to reduce the size of an image, maintaining its aspect ratio.
ROWS_IN_MONTAGE = 4
MONTAGE_WIDTH = 1920
MONTAGE_HEIGHT = 600

def reduceSize(largeImage: Image) -> Image:
    newHeight = int(MONTAGE_HEIGHT / ROWS_IN_MONTAGE)
    newWidth = int(newHeight * (largeImage.width / largeImage.height))
    smallImage = largeImage.resize((newWidth,newHeight))
    return smallImage
The final component was to be able to create the main montage image and paste the reduced images into it.
im = Image.open("me\\img954.jpg")
smallImage = reduceSize(im)

# Create the new large image and paste the smaller on into it
montageImage = Image.new('RGB', (MONTAGE_WIDTH, MONTAGE_HEIGHT))
montageImage.paste(smallImage, (100,200))
montageImage.show()
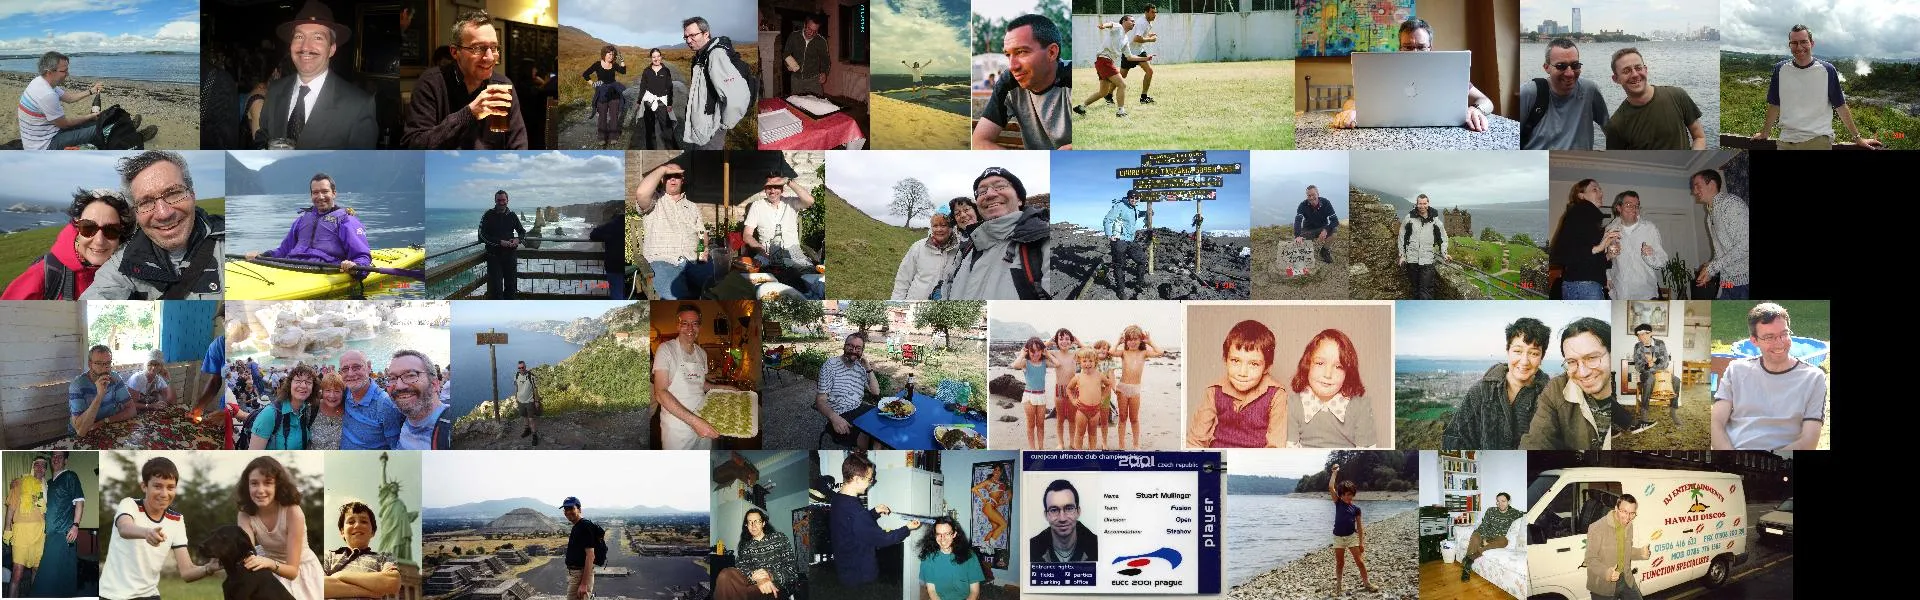
Finally, I had all of the pieces that I needed to create my first montage. Here’s the full code, followed by the montage it created. Note, I stop adding extra images after the final row.
from PIL import Image
import os
import datetime

ROWS_IN_MONTAGE = 4
MONTAGE_WIDTH = 1920
MONTAGE_HEIGHT = 600

def reduceSize(largeImage: Image) -> Image:
    newHeight = int(MONTAGE_HEIGHT / ROWS_IN_MONTAGE)
    newWidth = int(newHeight * (largeImage.width / largeImage.height))
    smallImage = largeImage.resize((newWidth,newHeight))
    return smallImage

# Create the new large image
montageImage = Image.new('RGB', (MONTAGE_WIDTH, MONTAGE_HEIGHT))

row = 1
rowHeight = int(MONTAGE_HEIGHT / ROWS_IN_MONTAGE)
topLeft = 0
rowTop = 0

for filename in os.listdir("me"):
    im = Image.open("me\\" + filename)
    print("Adding: " + filename)
    smallImage = reduceSize(im)
    if topLeft + smallImage.width > MONTAGE_WIDTH:
        topLeft = 0
        row += 1
        rowTop += rowHeight
    if row > ROWS_IN_MONTAGE:
        break
    montageImage.paste(smallImage, (topLeft,rowTop))
    topLeft += smallImage.width

montageImage.show()
now = datetime.datetime.now()
montageImage.save("montage-" + now.strftime("%Y%m%d%H%M%S") + ".jpg")
And here’s the my first montage.
The final result
My first attempt only used 40 images, but when I changed it to 5 rows it was up to 70. With the gaps on the right-hand side, I decided to paste images into them anyway, even if they were cut off by the edge of the montage image.
To give an impression of lots more images, I decided to start with the right-hand side of an image, randomly cut on each row. I also needed to randomly sort the images, run it a few times and then choose the montage I preferred.
Here’s the final result.