Getting Started with Umbraco

Create a Personal User
The email address that we created the Umbraco installation with has special privileges, and it is a good idea to create a personal user account. Login to the back office using the installation user and select the “Users” section on the left-hand side of the page.
If you have set up the correct email settings in Web.config then you can just use the “Invite user” button to create the new user. As I haven’t, I’ll click on the drop-down arrow on that button and select “Create user”.

Enter your name, email and select the “Adminstrators” user group, and then click on the “Create user” button. Take a note of the generated password and then either log-off and log-in as the new user or go to the user profile to change the password.
Create a Master Template and Home Page
We could just go ahead and create a new home page template, but I recommend first creating a master template. This can contain all of the information that is common among all of the page types in your site. We’ll then use this as the base for the home page.
Two important concepts in Umbraco are the Document Type and Template. A document type allows you to define a type of document (a page, a page component, sometimes something more abstract) by defining the fields that can be added to an instance of that document type.
A template is the actual code that renders the document type as HTML on the page. It is Razor code, which you may recognise as HTML with some code elements for rendering the fields of the document type.
A document type can be rendered by more than one template if needed. Hopefully this will become clearer as we proceed.
Document Types
My first document type will be “Master Page”, as I intend to base all other pages on this it will contain only information that is common to all pages. For a start I’m just going to include the “Heading” field, which will be rendered as the <H1> field on all pages.
Select the “Settings” section in the back office on the left-hand side. Click on the “…” to the right of “Document Types” and select “Document Type”.

Set the name to “Master Page”, click on “Add new tab” to create a new “Content” tab, and then “Add property” to add the Heading field. Set the property name to “Heading”, click on “Add editor” and then select “Textstring” under the “Reuse” tab. I set the property to be mandatory, as I always want there to be a heading field on the page.

Click on the “Submit” button to add the property to the document type. Then click on “Save” to save the new document type. Within the “Settings” node tree on the left-hand side, you will now see the new document type appear.
As this is the master document type, we now need to create a home page document type that inherits the properties of the master and can have some extra properties added. To do this you click on the “…” to the right of “Master Page” and create another “Document Type” that will appear as a child of “Master Page” in the node tree. You’ll see that it has inherited the “Heading” property.
Call this new document type “Home Page” and add an “Introduction” field to it using the “Textarea” property editor. For now, I suggest that you always use the “Reuse” tab when selecting a property editor.

When you “Save” the home page document type it will appear as a child of the “Master Page” in the node tree.
We can now specify where in the content tree a home page is allowed. It should be allowed at the top level only, so click on the “Permissions” icon at the top of the page and select “Allow as root”. Click on “Save” to save the changes.

Before we can use these document types in the code we need to create the C# classes to represent them. This is done using Umbraco Models Builder. Depending on the mode that you have set up (e.g. “Dll”) you may need to manually build these classes. To do this, go to the “Developer” section, select the “Models Builder” tab and click on the “Generate models” button.
If you are using the “Dll” setting then generating the models will create a new DLL file in the /bin folder. You will need to include this DLL in the project and add it to source control.
Templates
If you now expand the “Templates” node in the node tree you will see that a template has also been created for each document type that we created. If you click on each node you will see the Razor code that has been created and can even edit it from within the back office. However, the templates are actually files created under the “Views” folder within our file structure.
Back in Visual Studio we can see them by clicking on the “Views” folder and clicking the “Refresh” button in the Solution Explorer. Select both of the files and use the right-click menu option to include them in the project.

Add basic page HTML to the master page and set the H1 heading to that from the document type, using the following code. Note, that the “RenderBody” function call indicates that the Razor code from the calling page (the home page in this instance) will be placed in that position.
@inherits Umbraco.Web.Mvc.UmbracoTemplatePage<ContentModels.MasterPage>
@using ContentModels = Umbraco.Web.PublishedContentModels;
@{
    Layout = null;
}

<!doctype html>
<html lang="en">
<head>
    <meta http-equiv="content-type" content="text/html; charset=utf-8">
    <title>@Model.Content.Heading</title>
</head>
<body>

    <h1>@Model.Content.Heading</h1>

    @RenderBody()

</body>
</html>
Edit the home page and update the Layout variable, so that the home page template inherits its layout from the master page template. The code we define here will be placed where @RenderBody is called in the master page. Add in the code below to display the introduction field.
@inherits Umbraco.Web.Mvc.UmbracoTemplatePage<ContentModels.HomePage>
@using ContentModels = Umbraco.Web.PublishedContentModels;
@{
	Layout = "MasterPage.cshtml";
}

<p>@Model.Content.Introduction</p>
Creating the Content
That is the code ready to run now. All we need to do is create the content within Umbraco, as the editor of the page would when using the site in a real environment.
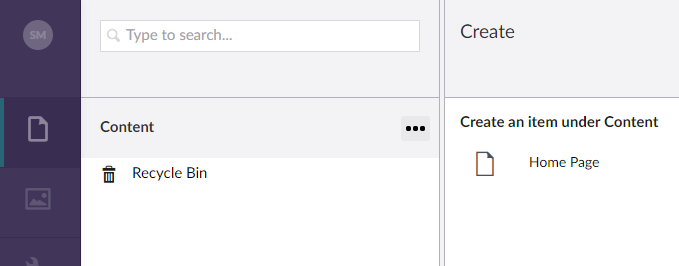
Run the site again and log in to Umbraco. Select the “Content” section on the left of the page and then click on the “…” to the right of the word “Content”.

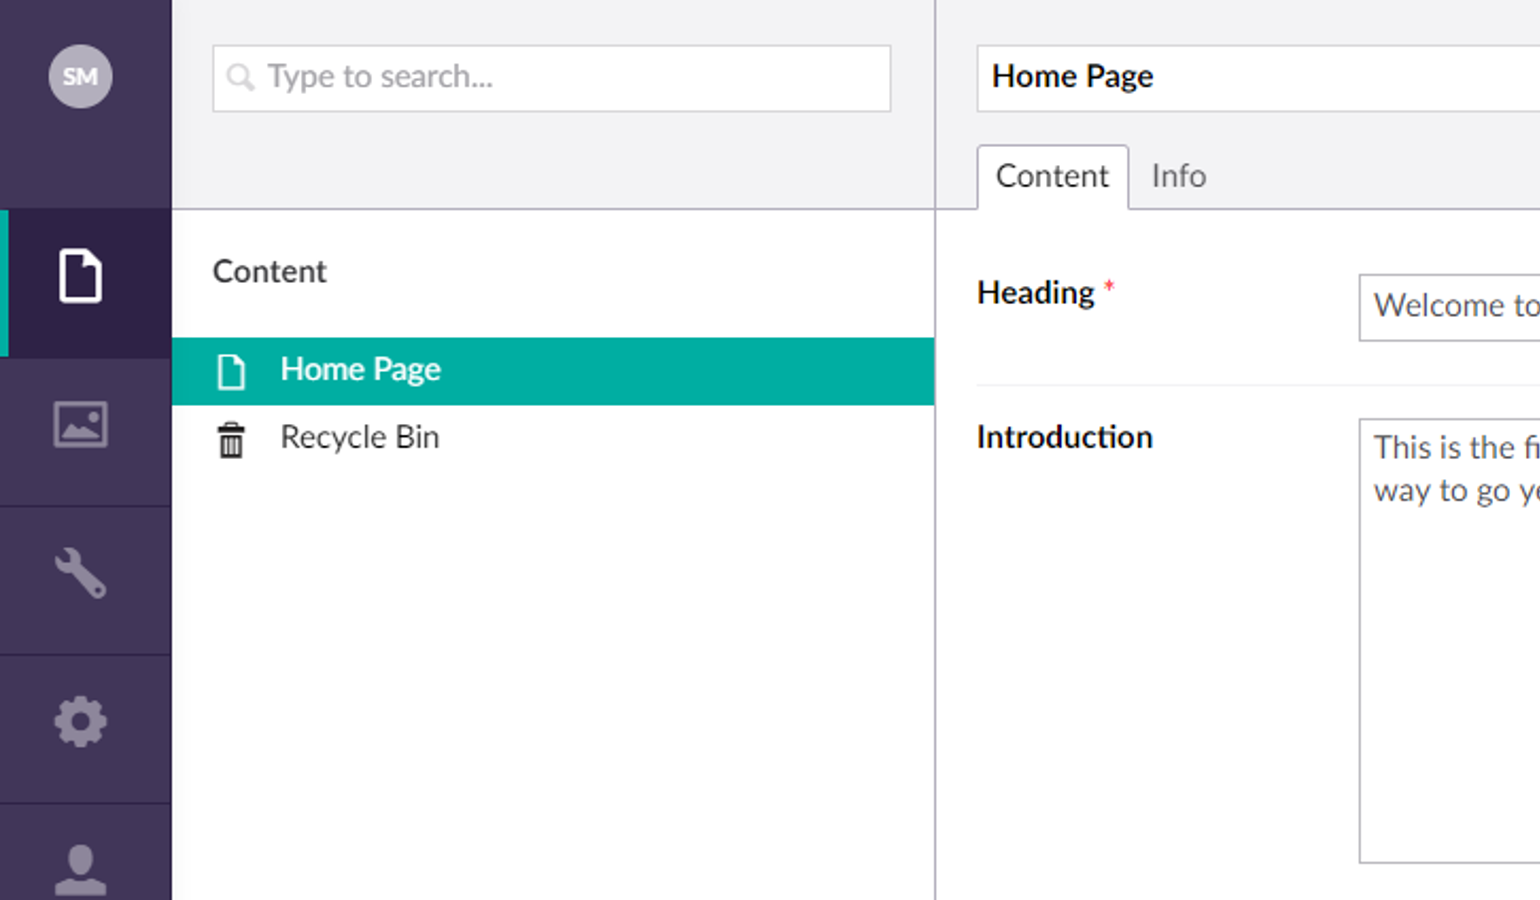
Select “Home Page”, enter a name, heading and introduction and click on “Save and publish”. You’ll see the new home page appear as the first node in the content tree.

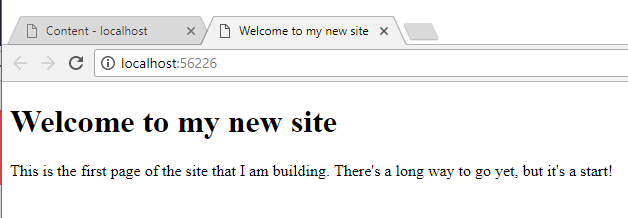
The content has now been entered and we can go and look how the site looks. Either enter the URL directly in a new tab, or you can find a link on the “Info” tab of the home page content.

We’re up-and-running. Don’t forget to commit the code changes.