Storing Umbraco Media on Azure

When you upload media into Umbraco it is stored on the server’s file system by default, under the /media folder. During development this works nicely, but when it comes to deploying to other servers (testing, staging, live, etc.) you need to ensure that the entire folder is copied and kept in sync with the media recorded in the back office. I have often found that I end up with media in the back office that has no physical file and vice versa.
One easy solution to make this simpler is to store the media files in the cloud and share that storage between your different instances. I have often used Blob Storage in Azure to store my media files and I thought it would be useful to detail the setup process here.
Azure
If you do not already have an Azure account then you will need to create one. Blob storage is available free-of-charge for 1 year, along with many other Azure components. At the time of writing you’ll also receive a voucher and free access to some of their other components for 30 days.
When you have created your account, create a Storage Account using the Azure portal.
Umbraco
To switch Umbraco to use your new blob storage account you will need to install the following NuGet package.
UmbracoFileSystemProviders.Azure
Version 1.x of the package is suitable for Umbraco 7, with V2.x suitable for Umbraco 8. You will see in the list of dependencies for the package which Umbraco version it is expecting.
When you install this package, it will add a StaticFileHandler section to the Web.config and it will also update config/FileSystemProviders.config to replace the media provider.
<?xml version="1.0"?>
<FileSystemProviders>

  <!-- Media -->
  <Provider alias="media" type="Our.Umbraco.FileSystemProviders.Azure.AzureBlobFileSystem, Our.Umbraco.FileSystemProviders.Azure">
  	<Parameters>
  		<add key="containerName" value="media"/>
  		<add key="rootUrl" value="https://[myAccountName].blob.core.windows.net/"/>
  		<add key="connectionString" value="DefaultEndpointsProtocol=https;AccountName=[myAccountName];AccountKey=[myAccountKey]"/>
  		<!--
        Optional configuration value determining the maximum number of days to cache items in the browser.
        Defaults to 365 days.
      -->
  		<add key="maxDays" value="365"/>
  		<!--
        When true this allows the VirtualPathProvider to use the deafult "media" route prefix regardless
        of the container name.
      -->
  		<add key="useDefaultRoute" value="true"/>
  		<!--
        When true blob containers will be private instead of public what means that you can't access the original blob file directly from its blob url.
      -->
  		<add key="usePrivateContainer" value="false"/>
  	</Parameters>
  </Provider>

</FileSystemProviders>
You will need to replace [myAccountName] (twice) and [myAccountKey] in that file. For the connectionString it is easier to copy the entire connection string from the Azure portal. This information can be found by opening the Storage Account details in the Azure portal and selecting the "Access keys" section on the left-hand side.

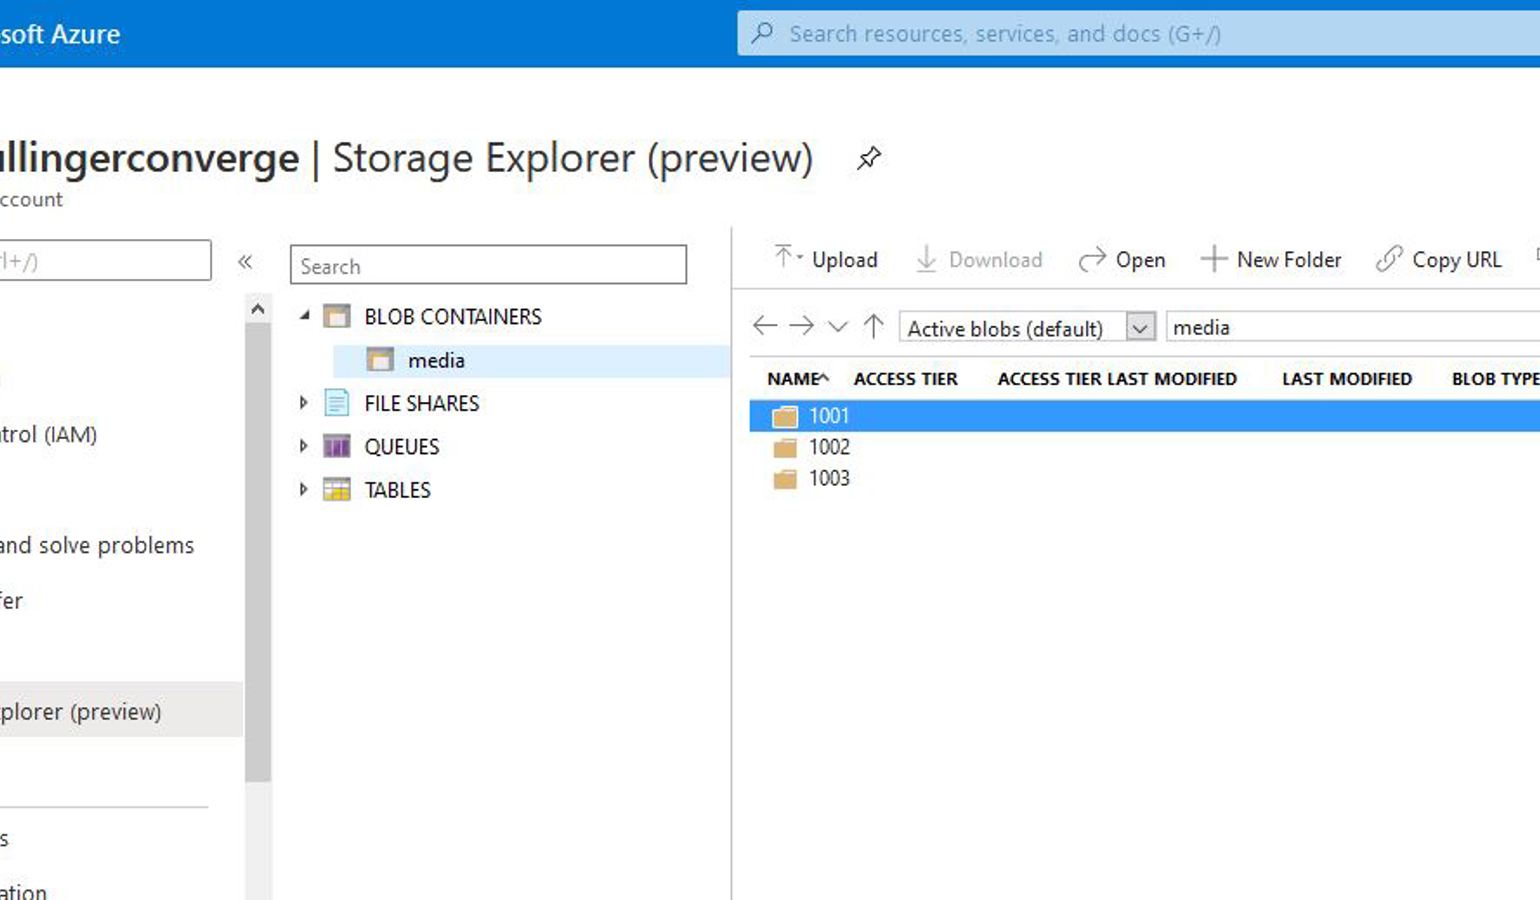
Once you have built and run the site, any new media that is uploaded will be uploaded to the blob storage on Azure, rather than being created on the server’s physical file system. You can use the "Storage Explorer (preview)" within the Azure portal to check the files as they are uploaded.
Media files that were added before you made these changes will remain on the physical file system and will no longer be used. Apparently, you are able to copy them manually to the blob storage, keeping the same folder structure, and then they will be used. I haven’t tried this myself though.
