Umbraco Membership

As described in a previous post, I have created a form from which I can create my Cinema Cento film review blog posts on the public part of my site. Obviously, if I made this live then anyone would be able to create the posts (not something I want!). This blog entry describes how I used the Umbraco membership functionality to ensure that the form can only be accessed by authenticated users – that is, those who have logged-in using a valid username and password.
Umbraco members (site visitors with a username and password) can be created, updated and have their password set using the back office of Umbraco. It is possible to provide this functionality using specifically designed forms following the methods I describe here. In this post, however, I will limit myself to providing only a login screen, as I am happy to log into the back office to maintain the members that I create.
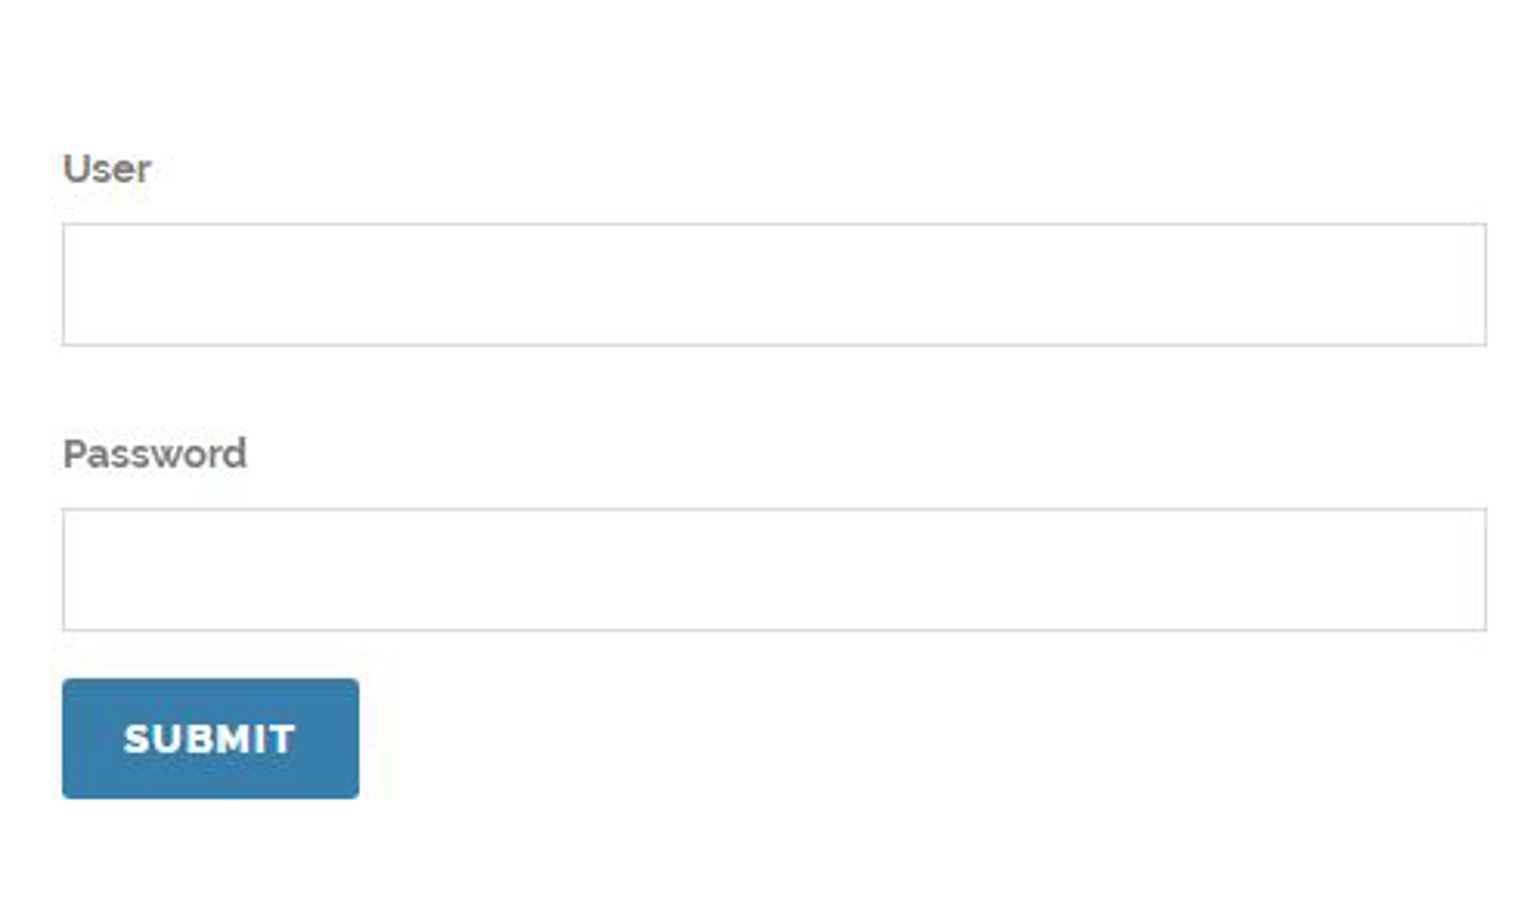
Login Form
This form will follow the same MVC pattern that I described for the Cinema Cento form. First, I created a new model to store the fields of the form.
using System;
using System.Collections.Generic;
using System.Linq;
using System.Web;

namespace rtmullinger2018.Models
{
    public class MemberLoginForm
    {
        public String Username { get; set; }
        public String Password { get; set; }
    }
}
I then created a partial view for the form. This can be included in a grid editor as described in my previous post.
@model rtmullinger2018.Models.MemberLoginForm

@if (ViewData["member-login-form.error"] != null && !String.IsNullOrWhiteSpace(ViewData["member-login-form.error"].ToString()))
{
    <div class="alert alert-danger"><strong>Error</strong> @ViewData["member-login-form.error"]</div>
}

<div class="form-container">

    @using (Html.BeginUmbracoForm("Login", "Member"))
    {
        @Html.AntiForgeryToken()

        <fieldset>
            <ol>
                <li class="form-row text-input-row name-field">
                    @Html.LabelFor(l => l.Username, "User")
                    @Html.TextBoxFor(m => m.Username, new { @class = "text-input" })
                </li>
                <li class="form-row text-input-row name-field">
                    @Html.LabelFor(l => l.Password, "Password")
                    @Html.PasswordFor(m => m.Password, new { @class = "formfield" })
                </li>
                <li class="button-row">
                    <input type="submit" name="Submit" value="Submit" class="btn btn-submit bm0" />
                </li>
            </ol>
        </fieldset>
    }

</div>
Finally, the controller uses the Umbraco member helper to validate the login and record it within Umbraco so that access to the protected pages is allowed.
using rtmullinger2018.Models;
using System;
using System.Collections.Generic;
using System.Linq;
using System.Web;
using System.Web.Mvc;
using Umbraco.Core.Models;
using Umbraco.Web.Mvc;

namespace rtmullinger2018.Controllers
{
    public class MemberController : SurfaceController
    {
        public ActionResult Login(MemberLoginForm model)
        {
            ViewData["member-login-form.error"] = "";

            if (!ModelState.IsValid)
            {
                ViewData["member-login-form.error"] = "There was a problem with the field validation.";
                return CurrentUmbracoPage();
            }

            if (String.IsNullOrWhiteSpace(model.Username))
            {
                ViewData["member-login-form.error"] = "Please supply a username.";
                return CurrentUmbracoPage();
            }
            else if (String.IsNullOrWhiteSpace(model.Username))
            {
                ViewData["member-login-form.error"] = "Please supply a password.";
                return CurrentUmbracoPage();
            }

            Boolean validLogin = Members.Login(model.Username, model.Password);
            if (! validLogin)
            {
                ViewData["member-login-form.error"] = "Did not recognise username/password combination. Please try again.";
                return CurrentUmbracoPage();
            }

            return RedirectToCurrentUmbracoUrl();
        }
    }
}
Creating a Member
Members can be created and updated in the "Members" section of the Umbraco back-office. They can be divided into groups that can be used to control who has access to which parts of the site. I have created just one group for access to my Cinema Cento form.

I then created a new Member, specifying the username and password in the "Properties" tab. I also assigned the member to my new group by clicking on the name of the group where it appeared below "Not a member of group(s)" to move it to the right-hand column.

Protecting a Page
You can password-protect an Umbraco content page by right-clicking on the "..." to the right of that page and selecting "Public access".

Select "Role based protection" and then define the groups that are allowed access to the page. You must also specify the login page (which contains the form we created earlier) and error page (for users that have logged-in but are not specified within a valid group).

Now, if anyone attempts to access the form they will be redirected to the login page, where they will be required to input a valid username and password. Only then will they be able to access the form.

Protecting the Form Controller
Using the above method makes it impossible for an unauthorised user to access my protected form. However, the action that gets triggered when the form is submitted remains unprotected, that is the code inside the Cinema Cento form controller. As we have employed an anti-forgery token, it is unlikely that anyone will be able to take advantage of this, but there is a mechanism to protect the controller action using a code attribute. Below I specify that the "Submit" action can only be used by authorised members with the "Cinema Cento" group.
public class CinemaCentoController : SurfaceController
    {
        [HttpPost]
        [ValidateAntiForgeryToken]
        [MemberAuthorize(AllowGroup = "Cinema Cento")]
        public ActionResult Submit(CinemaCentoForm model)
        {
                ...
        }
    }